Requirements
- An account in GCP
API_URLis the public DNS name of the hoop gateway instance
API_URL address.
Identity Provider Configuration
Create an Application
Login with your account at https://console.cloud.google.com/apis/credentials
- Go to
Credentials>Create Credentialsbutton >OAuth Client ID - In Application type, select
Web Application - Give it a name (i.e. “Hoop”)
Configure the Redirect URIs
- Click Authorized redirect URIs and add the URL:
{API_URL}/api/callback - Click Create button
- Take note on the
ClientIDandClient Secret
Collect the Credentials
When you created the app, you got those. But they are also available in the JSON file that was downloaded by the creation time. The download is also available at:
- Credentials > OAuth 2.0 Client IDs > Actions > Download
Configure Hoop Gateway
- Web App
- API
Go to Integrations > Authentication and fill in:
- Auth Method: OIDC
- Issuer URL:
https://accounts.google.com - Client ID: the Client ID from above
- Client Secret: the Client Secret from above
Configuring Groups
Groups are synchronized by performing a request to the Cloud Identity API as a best effort operation.This feature is available in version 1.35.2 and later.
Add the Groups Scope to Hoop Gateway
Add the Cloud Identity scope to the gateway configuration. In Integrations > Authentication, add the following to the Scopes field: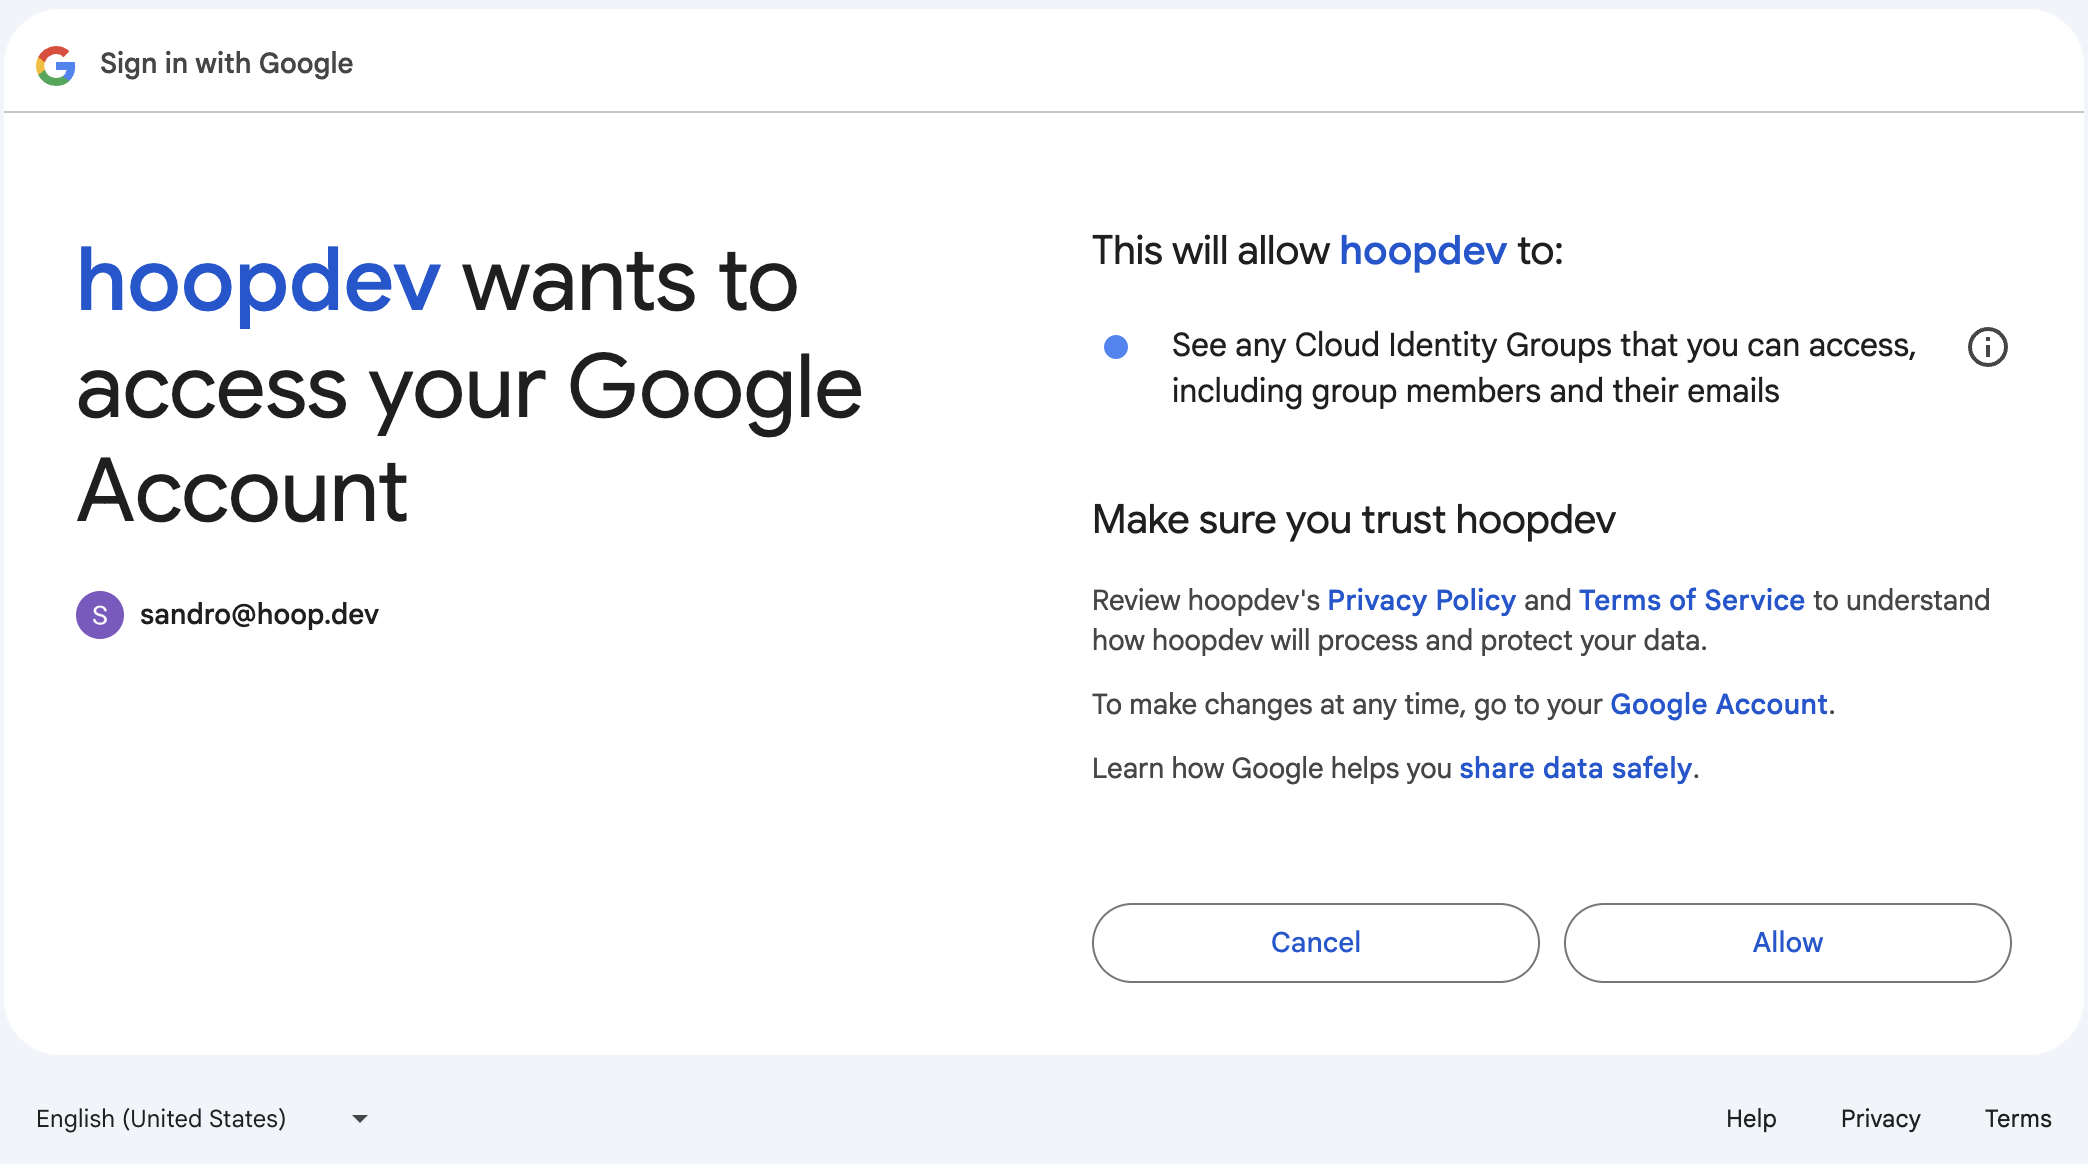
https://www.googleapis.com/auth/cloud-identity.groups.readonly
scopes array of the oidc_config.Users will need to provide consent for the following access permissions when first logging in to enable proper group synchronization.Enable the Cloud Identity API in your project
- Visit the Cloud Identity API Page
- Clik in the button
ENABLE